Making a garden teacup is a perfect excuse for having a group of friends over and a nice way to spend one of the last summer-like afternoons on the deck. You can have a tea party after, and best part is they can brag about what they made. Think of it as having the guests make their own party favors!

Teacups were once the sign of a civilized age and household. I remember my American aunt coming up for visits in the summer and one of the first places she would want to go would be a china shop to add to her collection, because tea cups were used back then, not just for show. I cringe now to think that I once gave my sister a bridal shower where everyone was asked to bring a tea cup as a gift – I thought it was a good idea, as she already had everything else. My mother had a set of good china, white with gold rims, which she used for holiday dinners, but she didn’t have enough matching teacups, so out would come the fancy teacups for coffee, tea and dessert. Each one would have a different pattern, color and style. Even the guys would drink their coffee in them, and what grandchild wasn’t pleased to be served a milky brew in a real china cup just like the grown-ups. I have a few of these special ones left, which I would not part with as they hold memories as well as tea.

Although I still occasionally use tea cups, and have a very pretty set with a matching teapot, I know I am in the minority. We are a mug society now.
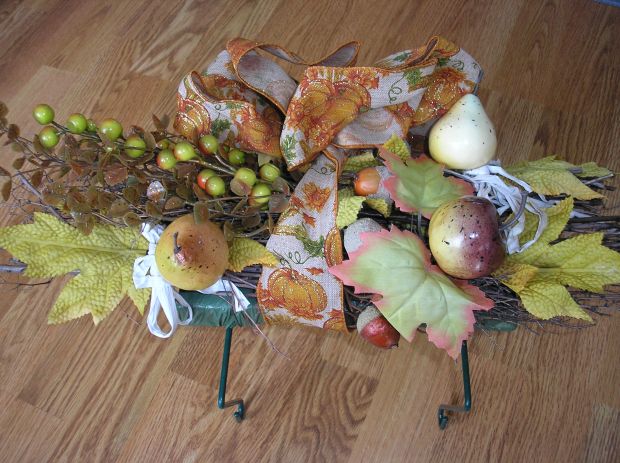
We all have teacups collecting dust – they may be a collection we have inherited from our mother or grandmother, but even if you live like Downton Abbey, there are only so many tea cups you can use and the thrift shops are full of donated cups. So this simple and inexpensive craft is a nice idea to put them to good use.

Garden tea cups can hold a tea light, birdseed or water for a mini bird bath. I have seen the birds enjoying mine on occasion after a rainstorm. I have also given them as small homemade gifts. I made two for a friend who was retiring and loves to garden, a stop and smell the roses pink one, and one with the bluebird of happiness on it. Now that they have been popular for awhile you can find them at art and craft fairs everywhere, but I bought my first one in the gift shop of an art gallery several years ago. It was expensive at $25, but I fell in love with it as it was so pretty and blue, my favorite color. The woman selling it very kindly told me how to make my own – for a lot less money.

These are the craft supplies, and price-wise it works out to be less than $5.
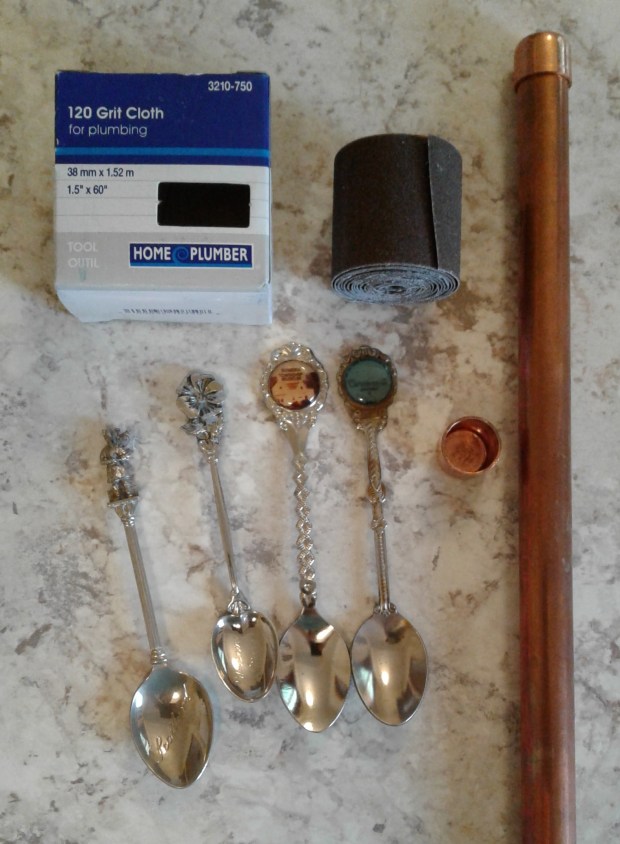
You can have your guests bring their own special teacup, or supply them with ones from a thrift shop, or donate some of your own. I buy long half-inch diameter copper rods at the hardware store, and because I am a frequent customer there, one of the employees cuts them for me in the length I desire. I use a 12 inch length for planters, and longer ones for placing in the ground among the plants. 
I also buy matching short half-inch ends the same width as the rod which will be glued onto the bottom of the saucer to hold the rod.

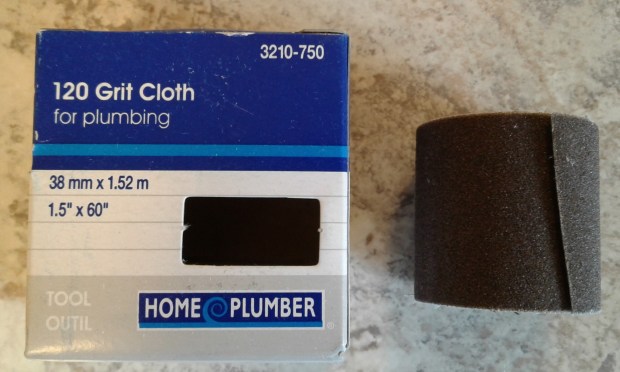
Using a piece of rough abrasive paper (grit cloth as below) or sandpaper, rough up the bottom of the saucer in the middle, and also the same area underneath the saucer. This makes the glue adhere better.
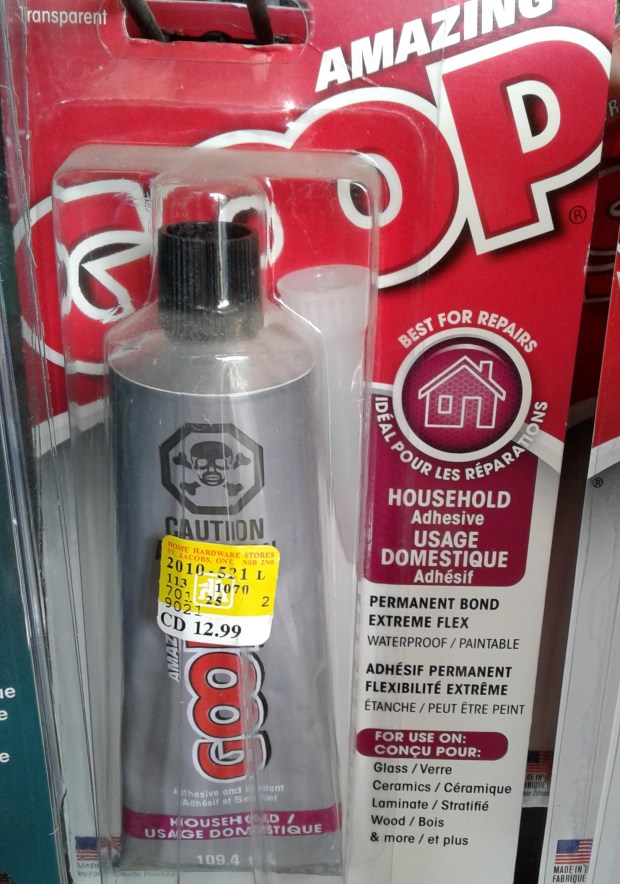
This Goop glue was recommended to me, but you can use any kind which bonds china or ceramic.
Using a Q-Tip apply some glue to the bottom of the teacup and place it in the centre of the saucer, wiping up any excess glue around the bottom rim. If you wish you can also glue a tiny teaspoon on, as an added decoration, but I found they tarnished quickly as most are silver. These can be found at thrift shops for pennies. Let it set for a few minutes – perhaps go and put the kettle on for your tea.
Turn the bonded teacup and saucer upside down, and apply the end piece to the bottom of the saucer with a bit of glue, and set the whole thing aside for the rest of the afternoon. Leave it upside down, preferably for 24 hours. The next day you can insert the copper rod and turn it right side up and place in your planter for the birds to enjoy.

While it is setting, you can continue on with the food and beverage portion of your tea party. This craft takes very little time, perhaps thirty minutes at most, depending on how long you spend roughing up the china and waiting for it to set.
After the tea party…
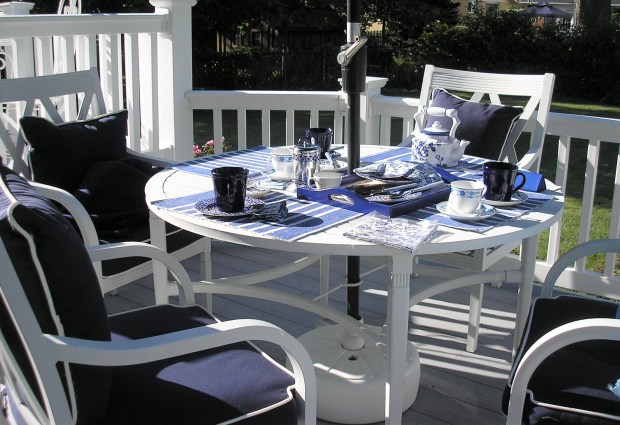
See how the late afternoon shadows are slanting as the sun loses it’s warmth. Summer’s over, but at least everyone has a lovely souvenir to take home as a memory of a fun party and something useful for next year’s garden.
PS. Continuing with our September theme, this is the craft portion of Arts and Crafts (because wasn’t that always one of our favorite parts of back to school). See Plein Air Painting next week for the arts portion.